

Exterior Car Washing Procedure Of YouCheTang
Tools and Materials: Car washing machine (professional), car wash detergent, car wash sponge, wax, tar remover, tire cleaner, alloy wheel cleaner, brush, long-handled brush, scraper, all-cotton cloth, absorbent cloth, clay.
Time: Not exceeding 45 minutes.
Precautions: Avoid operating in direct sunlight. Do not proceed immediately after the vehicle has been driven. Conduct a thorough vehicle inspection to prevent unnecessary disputes and potential claims with customers. Ensure customer confirmation before proceeding.
- Cleaning of Tires and Wheels:
- - Clean the tire compartments by spraying car wash detergent and using a long-handled brush.
- - Rinse thoroughly. Clean the wheels, removing mud and sand, using tire cleaner and alloy wheel cleaner.
- - Use a brush and toothbrush for narrow areas. Rinse thoroughly.
- - Use tar remover for tar spots, and finally, conduct an overall rinse.
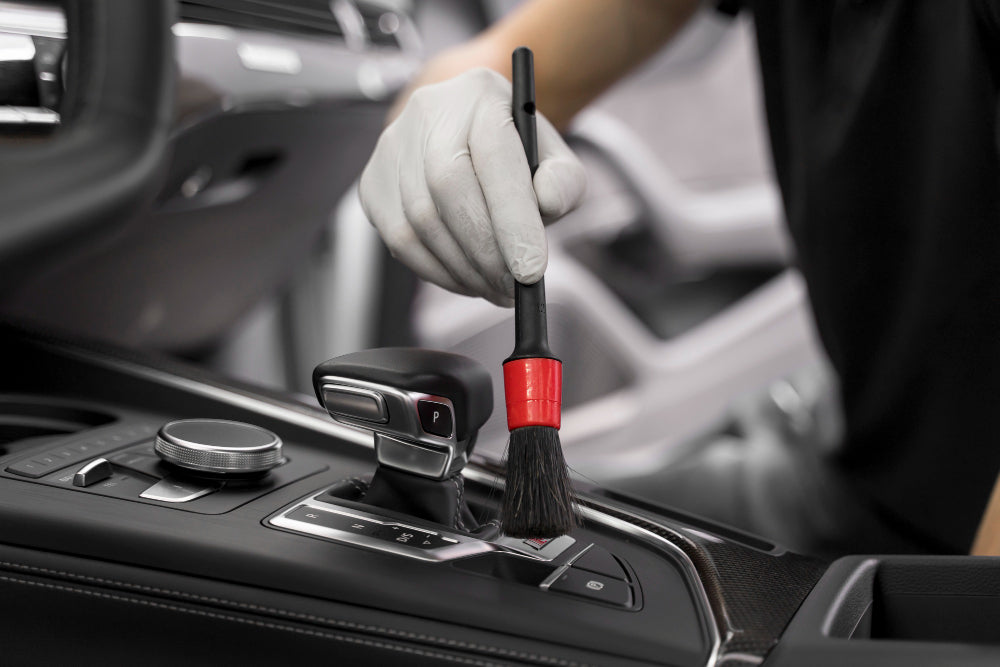
- Cleaning of Complicated (Small) Areas:
- - Clean areas like license plates, grilles, fuel filler caps, door handles, badges, and lights.
- - Rinse first, then use wax or tar remover with a brush or all-cotton cloth.
- - Rinse and complete the operation.
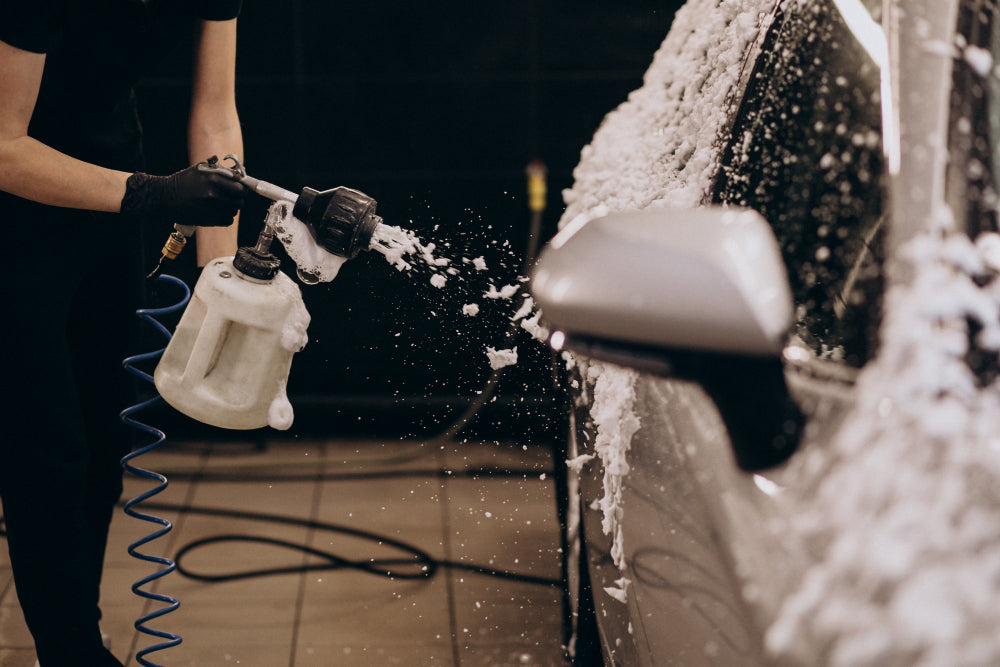
- Car Body Washing:
- - Dilute specialized car wash detergent in a bucket of water.
- - Rinse off mud and dust from the car body in the following order: roof, side doors, rear, side doors, front.
- - Use a car wash sponge to apply detergent to various parts in straight-line motions.
- - Rinse and repeat for each working surface, preventing dirt from adhering to the sponge.
- - Rinse thoroughly before the car wash detergent dries.
- Iron Particle Removal from Paint:
- - Use clay on a wet painted surface, moving it in one direction without applying too much pressure.
- - Rinse when the surface feels smooth. Change to another working surface.
- - Note: Fold and knead the clay to keep a clean surface.
- - Finally, rinse the entire vehicle.
- Drying and Water Absorption:
- - Use absorbent cloth and compressed air to remove water from the vehicle surface and crevices.
- - Caution: Blow water from the rear to the front.
- - Exterior car washing is complete.
Waxing Procedure
Tools and Materials: Professional beauty towels, car wax.
Time: 30 minutes.
Procedure:
- - Soak a sponge in water, squeeze out excess water, and apply wax thinly and evenly.
- - Apply in a crosshatch pattern. Work from top to bottom, far to near.
- - After applying wax to the entire paint surface, use a beauty towel to wipe.
- - Clean the waxing sponge, squeeze out water, and store for future use.
- - Caution: Avoid waxing plastic parts; immediately clean any wax residue on plastic components.
Grinding and Polishing
- Materials: Protective paper (9mm, 12mm, 24mm), masking paper (1.2m).
- Areas: All joints on the car body.
- Time: 20 minutes.
- Note: Protect parts like rubber frames, decorative pieces, signal lights, and badges from grinding. Plastic parts cannot be ground. Pay attention to edges and gaps.
Basic Operation Sequence for Grinding and Polishing:
- Grinding:
- - Use a grinding machine with a wool grinding disc.
- - Apply a small amount (2-3 pea-sized) of grinding paste to the disc.
- - Apply moderate pressure and observe the grinding effect (consider pressure, disc speed, and paste coarseness).
- - Avoid excessive paste and work on small areas.
- - Crosshatch with straight-line movements, both horizontally and vertically.
- - If white powder appears during grinding, inspect the painted surface. Move to the next area if damage is resolved; repeat if necessary.
- - Caution: Avoid circular movements to prevent potential paint damage.
- Polishing:
- - Wipe the polished area with a wet beauty towel.
- - Use a polishing machine with a sponge polishing disc.
- - Apply a small amount (about 1 ml) of ultra-fine polishing paste to the disc.
- - Polish to achieve a smoother paint surface.
- - Finish by wiping with a wet beauty towel.
- - Operation complete.
Order of Grinding and Polishing Tasks:
- - Hood, fenders, A-pillar and half of the roof, two side doors, C-pillar and rear sides, trunk and rear bumper, C-pillar rear sides, half of the roof and A-pillar, two side doors, fenders, front bumper.
Precautions for Using Grinding and Polishing Machines:
- - Keep electrical wires or compressed air hoses over the shoulder to avoid contact with the car body.
- - Do not tilt the machine to prevent uneven grinding or polishing.
- - Clean grinding and polishing discs immediately if contaminated.
- - Exercise caution around thin paint areas, such as mirror and bumper sections, and avoid prolonged high-speed operations.
Finishing Small Areas:
- - After grinding and polishing, remove protective paper slowly, especially after repainting.
- - Use a white cotton cloth with grinding paste for manual polishing on residual areas, around badges, around the rear bumper, around the front bumper, inside door handles, and beneath the rearview mirror.
- - Operation complete.
Pre-treatment Agent Operation Procedure:
- - Wash each panel to remove dust.
- - Dampen a sponge with the pre-treatment agent and gently wipe the paint surface.
- - Rinse, observe the hydrophilicity of the paint surface, and wipe dry with a clean absorbent cloth.
- - Operation complete.
Maintenance:
- - After a few months of use, the paint surface may appear dull. Use car wash shampoo to remove oil stains and wipe dry.
- - Loss of gloss can occur due to various factors. Maintain the vehicle's exterior appearance regularly to prevent deterioration.
This comprehensive car care procedure aims to enhance the appearance and longevity of the vehicle's exterior, covering cleaning, waxing, grinding, polishing, and post-treatment steps. Always follow safety precautions and manufacturer recommendations during these processes.