Generation and Types of Car Paint Scratches
(I) Generation of Car Paint Scratches
Car paint scratches are visible lines on the surface of the paint. The reasons for their occurrence include:
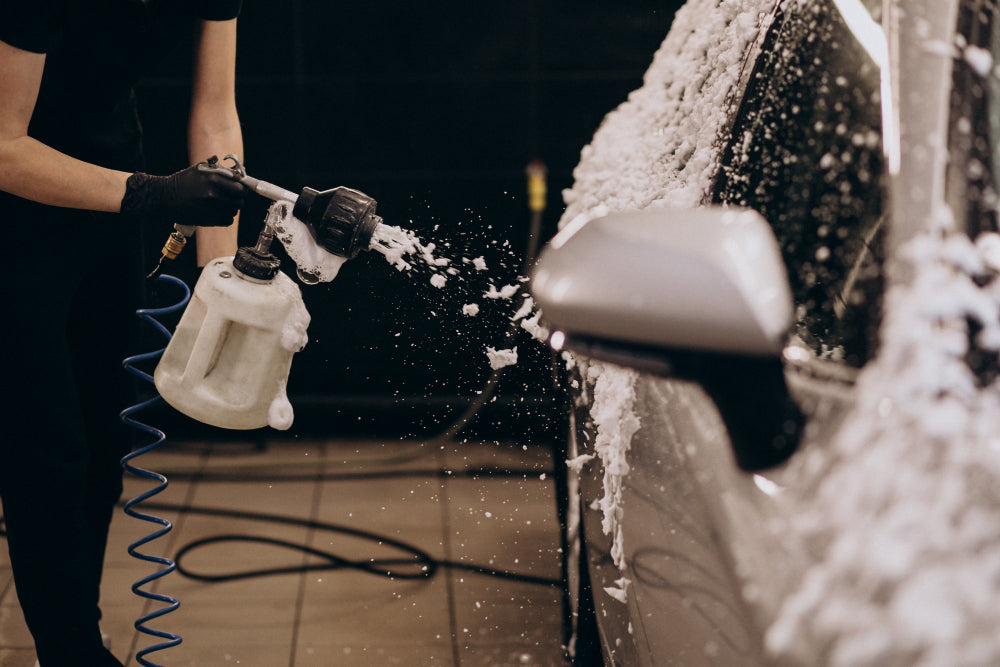
- Improper washing
During car washing, scratches may occur if there are hard particles in the cleaning agent, water, or washing tools (sponges, towels, etc.).
- Improper care
When polishing the paint, using a polishing disc with a coarse grit, applying excessive force, or accidentally polishing too much can result in scratches. Additionally, using the wrong wax during waxing, such as applying abrasive wax on a new car, can cause circular scratches.
- Scraping
Scratches on the car's surface can result from collisions with other vehicles, contact with roadside branches, or friction caused by storms and "flying sand and stones."
(II) Types of Car Paint Scratches
Car paint scratches are categorized based on their depth into three types: shallow scratches, moderate scratches, and deep scratches.
Shallow scratches refer to slight surface abrasions that penetrate the clear coat layer but do not reach the color coat layer.
Moderate scratches indicate that the color coat layer has been scratched but has not reached the primer layer.
Deep scratches mean that the primer layer has been penetrated, exposing the metal surface of the vehicle body.
Treatment of Shallow Scratches
For vehicles with minor surface scratches that have not penetrated the clear coat layer, the following repair process can be used:
- Cleaning
Remove the thin film of wax, oil, and other foreign substances on the surface with a wax remover at the scratched area, and let it dry.
- Polishing
Select appropriate polishing materials, such as 1500-grit sandpaper, 9um sanding discs, or detailing clay, and polish the surface layer of the scratch. Polishing can be done manually or using a grinding/polishing machine. Be cautious not to grind through the paint layer; if this happens, the affected area must be repainted.
- Restoration
After polishing, the surface should be mostly free of shallow scratches. To address any remaining fine scratches or swirl marks, use a restoration agent evenly applied to the paint surface. Polish until the paint layer matches the original color.
- Waxing
After the restoration, apply wax to the surface. Crush solid polishing wax into gasoline, apply it to the repaired area with clean cotton gauze, and wipe until the paint surface is smooth and shiny.
- Quality Check
Inspect the repaired surface for appearance quality. The color of the coating must match the original paint. If there are discrepancies, it indicates that the surface cleaning and waxing were not carried out according to the requirements, and rework may be necessary.
Treatment of Moderate Scratches
For scratches that have penetrated the color coat layer but have not reached the primer layer, the following repair process can be used:
- Polishing
(1) Check if the primer layer is intact.
(2) Polish the scratched parts of the intermediate and topcoat layers to make them smooth and even.
(3) Trim the edges of the damaged area until no scratched layers are visible. If necessary, extend the polished area appropriately.
- Cleaning and Drying
(1) Use a specialized cleaner to remove oil, wax, and other foreign substances from the polished surface.
(2) Dry the cleaned surface with a drying device.
- Intermediate Coat Application
(1) Determine construction process parameters, including viscosity, atomization pressure, spraying distance, drying temperature, and drying time, based on the selected coating.
(2) Cover the areas that will not be painted.
(3) Dry the intermediate coat. For small repair areas, natural drying at room temperature can be used, but it takes longer. Alternatively, use far-infrared drying lamps or far-infrared drying ovens (reflective type) for local drying.
(4) Polish and clean the intermediate coat. After the intermediate coat is dry, lightly sand it with 320-grit sandpaper until the surface is smooth. There are two polishing methods: dry sanding and wet sanding. For dry sanding, use compressed air to blow clean the sanded area, then thoroughly wipe away dust with a clean, sticky cloth. For wet sanding, use 320-grit wet sandpaper to surface sand the repaired intermediate coat, sanding until the surface feels smooth to the touch. Rinse with water, wipe dry, and air-dry or use compressed air. It is preferable to use a far-infrared lamp box for drying.
- Paint Application
(1) First paint layer:
① Spray paint: Prepare the selected paint according to the construction conditions, and spray according to the requirements.
② Drying: Use special far-infrared burners or ovens for local drying. The temperature and time for drying depend on the actual conditions on-site but must meet the quality requirements for drying. Cotton ball method can be used to determine if the paint film surface is actually dry.
③ Polishing: Use 320-grit sandpaper to sand the paint surface, making it smooth and even. Wipe with a cloth and compressed air while blowing, and finally thoroughly wipe clean with a sticky cloth.
(2) Second topcoat:
① Spray paint and dry as in the first step.
② Polishing: This topcoat polishing is the final polishing step that directly affects the surface quality of the coating. Use 500-600 grit sandpaper to gently wet sand, eliminate coating defects, and then dry.
- Clear Coat Application
After the second topcoat is sprayed, sanded, and dried, apply a layer of amino clear coat.
(1) Construction conditions: Take KH-24 clear coat as an example, use special thinner KH-24, dilution ratio 14%-16%, viscosity 24-25s, construction solid content mass fraction 46%, and let it stand for 48 hours for stability.
(2) Coating method: Spray 5-6 times, target thickness 35-40um. Allow 3-5 minutes between each spray, and a final leveling time of 7-10 minutes.
(3) Drying: Drying temperature 140°C, drying time 30 minutes. If using a holding-type drying in a drying room, the time is 20 minutes. For localized drying, use far-infrared heaters for drying, and the time depends on actual dryness.
- Polishing and Waxing
Polishing and waxing operations are carried out as follows:
(1) Soak a cloth, flannel, or sponge in polishing agent and polish the surface, then wipe it clean.
(2) Apply a layer of wax and polish for gloss.
Treatment of Deep Scratches
Deep scratches, including damage scratches, are caused by collisions, scrapes, etc., resulting in local damage, deformation, and cracking of the vehicle body, with severe coating damage. The treatment process for deep scratches involves:
- Surface Treatment
(1) Use a scraper, wire brush, etc., to remove the surface coating, rust, welding slag, and grind the large welding seams with a grinding wheel. Use 1.5-2.5 grit sandpaper for grinding, and remove surface rust and debris from the underlying layer.
(2) Clean the scratched area with a solvent and let it dry.
(3) Apply a thin layer of primer to the scratched area.
(4) Apply an anti-rust paint on top of the primer.
- Application of Putty
(1) Apply quick-drying putty on the metal layer.
(2) After the putty is dry, use 400-grit dry sandpaper to flatten the putty.
(3) Clean the scratched area with a wax remover.
- Spray Intermediate Coat
(1) Cover the areas not being sprayed with special masking tape.
(2) First lightly spray two layers of primer, then spray a second thicker layer of primer and let it dry.
(3) Sand the primer with 600-grit sandpaper.
(4) If the scratch is still below the paint surface, spray an additional 3-5 layers of primer and repeat the cleaning steps.
(5) Sand the surrounding area with 1500-2000 grit sandpaper, then clean with a solvent.
- Spray Topcoat
(1) First coat:
① Spray paint as previously described.
② Dry the first coat as described before.
③ Polish: Use 280-320 grit wet sandpaper to sand the coating after four layers.
Wipe clean with a cloth and compressed air. Let the surface dry, either by heating or natural drying. However, natural drying takes longer, and precautions should be taken to prevent dust contamination.
(2) Clear Coat:In the existing topcoat, add less than 20% clear coat and an appropriate amount of thinner for mixing to increase glossiness. The viscosity should be around 15s/25°C. After filtering, spray it. The clear coat should have good leveling after spraying for easy polishing and waxing the next day. The total thickness should be 80-110um.
- Polishing and Waxing
(1) Remove coverings from the sprayed and dried vehicle body.
(2) Wet sand the body surface with 400-500 grit sandpaper until the coating surface is smooth and even. The sanding length should be within 100mm back and forth.
(3) Polish using polishing agent. Wipe the coating surface clean with a cloth, then use a cloth, sponge, etc., soaked in polishing agent for polishing.
(4) After polishing, apply wax to bring out the gloss, making the surface shiny like new.Continuation:
Overall Polishing and Waxing
For both shallow and moderate scratch repairs, the final polishing and waxing process is as follows:
(1) After the paint has been sprayed, dried, and cured, remove any coverings.
(2) Wet sand the entire painted surface with 1500-2000 grit sandpaper until the coating is smooth and even.
(3) Polish the entire surface using a polishing agent, ensuring thorough coverage.
(4) Apply a layer of wax to enhance the overall gloss. Use a clean cloth, sponge, or applicator to evenly spread the wax.
(5) Buff the waxed surface with a soft cloth, achieving a smooth and shiny finish.
In conclusion, the treatment of car paint scratches involves a detailed and systematic process based on the depth of the scratches. Shallow scratches can be addressed through cleaning, polishing, and waxing. Moderate scratches require additional steps such as intermediate coat application and clear coat application. Deep scratches, involving significant damage, demand more extensive repairs, including putty application, primer coating, and multiple layers of paint application. It is crucial to follow each step carefully to ensure a seamless repair and maintain the original appearance of the vehicle. Regular quality checks during the process help identify any deviations from the desired outcome, allowing for necessary adjustments and refinements. Remember, the key to successful scratch repair lies in meticulous attention to detail and adherence to proper techniques throughout each stage of the process. Following these guidelines will help restore the car's paint surface, providing a polished and protected finish.